
crochet for beginners
Learn How to Crochet: Easy Scarf for Beginners
Everything You Need to Know to Start Crocheting!
By The Editors
October 1, 2020

Ivan Karpov/Shutterstock
Share:
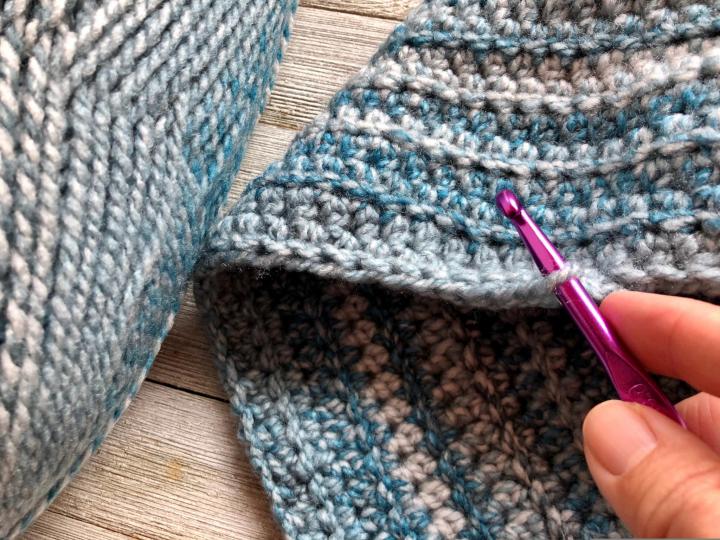
Crocheting is more than just a craft. It’s also a great stress reliever, an excellent way to pass time at home—and, it’s super addictive! Not sure how to start? You need just two things: a crochet hook and yarn. Check out our crocheting guide for beginners—plus an easy scarf design. A great gift for the holidays, too!
What Is Crochet?
This may sound like an odd question, but a lot of folks get confused between crochet and knitting. Crochet uses one hook, while knitting uses two. Crochet is essentially a lot of knots, whereas knitting is more like interlocking loops.
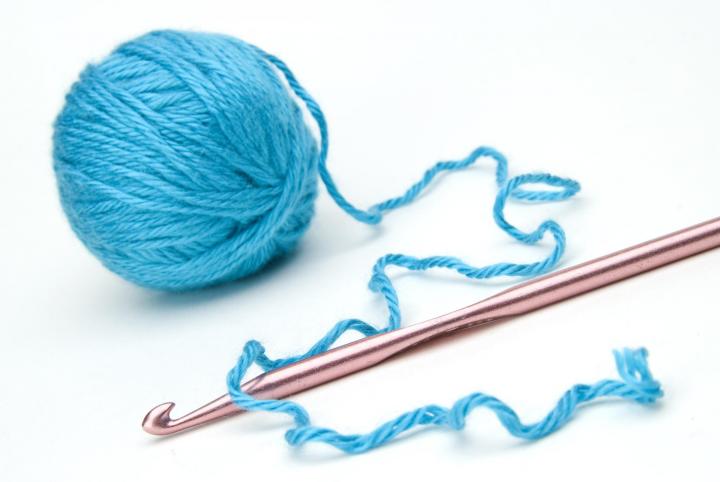
What Do You Need to Crochet?
Of all the hand crafts, crochet may be the easiest. All you need is:
- A “regular” medium-size crochet hook made of aluminum in size H8 with a 4mm to 5mm hook. Don’t buy a small hook if you’re a beginner. Aluminum hooks can handle the pressure from a beginner and won’t break. Plus, they’re usually the cheapest option.
-
Yarn that’s medium weight (4-ply)—aka “worsted
weight”—is best for beginners. Not light sportweight and not chunky. In
terms of materials, a beginner should go with an acrylic or a blend.
You’re going to make mistakes, so practicing on a cheap acryllic yarn is
better than expensive wool. Finally, avoid dark colors such as black or
navy, as it will be difficult to see your mistakes.
Here’s a nice example of yarn.
Plus, you’ll also need scissors and a yarn needle on hand.
Credit: Arcimages/Getty
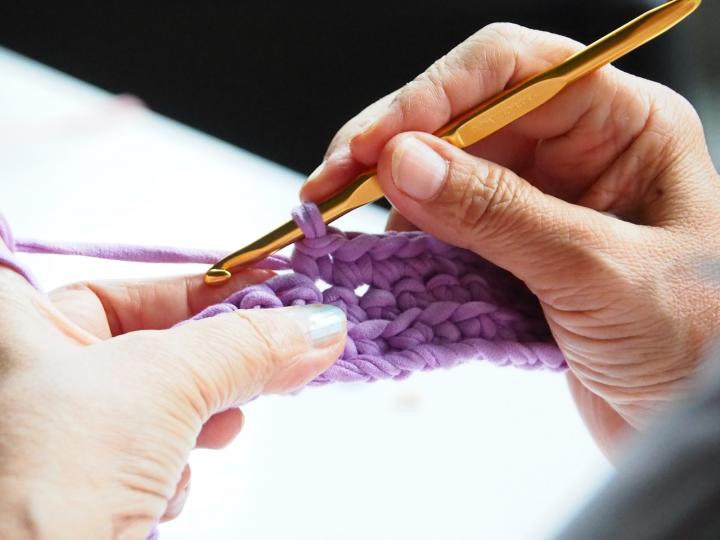
How to Hold Your Crochet Hook
For a beginner, holding a crochet hook is similar to holding a pencil. Take a look at your crochet hook. Note the actual hook on one end and then a flat area in the middle, which is a “finger hold.” This is where you hold the hook—with your thumb and index finger on the finger hold, and the third finger near the tip of the hook.
Hold the crochet hook slightly toward you, not facing downward or upward. Most importantly, hold your hook one to two inches down from the tip of your hook; this provides a level of control and room to put your stitches onto the hook.
How to Tie Slip Knot in 5 Steps
When you start any crochet project, you start with a “slip knot.” It’s basically how you attach your yarn to your crochet hook. Here’s how it’s done, though we encourage you to watch a quick video as well.
- Take the end piece of your yard and then measure about 12 inches from the end of your yarn so you have a “tail.”
- At about 12 inches, make a small loop on your yarn.
- Take your right hand and pinch your thumb and index finger together. Then put that pinched thumb/finger through the loop and grab the “tail” (yarn) near the loop. Hold on tight and don’t let go!
- With your left hand, grab the other side of the yarn (attached to the ball) and then bring it forward and then pull down, so that your right fingers and the “tail” pull back through the loop and form a loop with a knot at the bottom. That’s a slip knot.
- Notice how you can adjust the size of the slip knot by pulling on the tail. Pulling the ball end of the yarn tightens the loop and pulling the tail end loosens the loop.
- Now slip the slip knot onto your needle and tighten the knot so it grabs the needle.
Video: See this short video to watch how to make a slip knot. This video is a little old, but we think it’s one of the best demonstrations.
Credit: theknitwitch
How to Make a Chain Stitch
After you master the slip knot, learn to make a “chain stitch.” This is the foundation for crocheting. Although it’s not technically a stitch in the traditional sense of the word, it’s how you will set the starting width of a crochet item and how you will set the height of your actual stitches (called “turning chains”).
Chains are simple to make: simply wrap the yarn around your hook and pull through the loop already on your hook. There are two steps:
- Hold your hook in one hand. Take your yarn in the other hand, wind a few inches through your fingers (to help create tenstion that will help you to make your stiches the same size), and wrap the yarn around the hook by going behind the hook and over the front of the hook. The yarn should rest in crook of the hook.
- Pull the yarn through the slip knot on the hook. Grab knot at base of slip knot and pull yarn through the center of the loop, just enough to let stitch move easily along the hook.
Practice repeating the two steps above until you have a series of chain stitches!
Video: It’s really best to watch this short video to see how to make a chain stitch.
Credit: theknitwitch
When you read a pattern, you’ll see an abbreviation like “ch” or “chs” for multiple chain stitches, followed by a number denoting how many chain stitches to crochet. For example, “ch 15” means crochet 15 chain stitches.
How to Single Crochet
Now it’s time to start crocheting! The “single crochet stitch” is the most important and basic of all the stitches. It creates a smooth, tight, dense fabric. After you master this, you should be able to do beginner projects such as a scarf or blanket! (Note that in a pattern the “single crochet” will be denoted with the abbreviation “sc.”)
- Before you begin, make a slip knot and “chain 6” (put 6 chain stitches on your crochet hook).
- Always skip the first chain stitch from the crochet hook. Slide the hook from front to pack into the second chain from the hook.
- With the hand working your yarn ball, wrap the yarn from back to front over the crochet hook. (In a pattern, this may be abbreviated “yo” for “yarn over”).
- Pull the hook with the wrapped yarn through the chain stitch onto the working area of the crochet hook. You now have two stitches or loops on the hook.
- With the hand working your yarn ball, wrap the yarn over the hook from back to front (another “yo”).
- Draw the hook with wrapped yarn through both loops.
That’s your single crochet stitch made. One loop remains on your crochet hook. This loop is the starting point for your next stitch. To continue the row, slide the hook into the next chain stitch and start your second row of stitches.
For a single crochet, you would work to the end of a row. Turn over your crochet work and make one chain stitch. Now work the first stitch of the new row in your pattern.
Video: These are the basic steps but, once again, it’s easiest to watch this in action with the video.
Turning Chains
What do you do when you get to the end of the row? With a single crochet stitch, you’ll need to “turn your chain.”
This can take practice: Start with your a chain of stitches (aka your foundation chain). Skipping the chain stitch that is closest to your hook, make a single crochet stitch into the next/second chain stitch.
Video: See this short video tutorial from Heidi Gustad of Hands Occupied.
Slip Stitch
In some patterns, you’ll see the abbreviation “slst.” This stands for “slip stitch” which joins pieces together. It’s often used to smooth out the side of a piece. To make a slip stitch:
- Insert your hook from front to back into the spot where you need to crochet the slip stitch. Wrap the yarn around the hook (yrh) in a counterclockwise direction.
- Pull the yarn through the chain stitch and then the loop already on the hook to make a slip stitch.
How to Fasten Off (Finish)
After you’ve been crocheting a piece, how do you finish it? No one wants their yarn to unravel. This is called “fastening off.”
- At the end of your last row, after you’ve worked your last stitch, you will have one loop left on your hook.
- Cut the yarn from the ball, leaving about 6 inches of tail.
- Pull this yarn tail up through the remaining loop, slipping your crochet item off your hook. Pull the tail snug to tighten it up. Now you have a little knot so keep your yarn from unraveling.
Hiding the Yarn Tail
- Do not cut the tail right up to the knot. Hide the tail by threading it onto a yarn needle, and on the “back” side of your piece, weave the needle down in and out of the back of a few stitches.
- Then, take the needle and weave it back the other direction. Weave the needle back going in an upwards direction. Weaving the yarn tail in different directions prevents the tail from coming loose.
Make a Beginner Scarf
Once you’ve learned the single crochet stitch, the chain stitch, and the slip stitch, you are ready to crochet a scarf!
Here’s an easy scarf that uses the basic “single crochet stitch” and one ball of yarn!
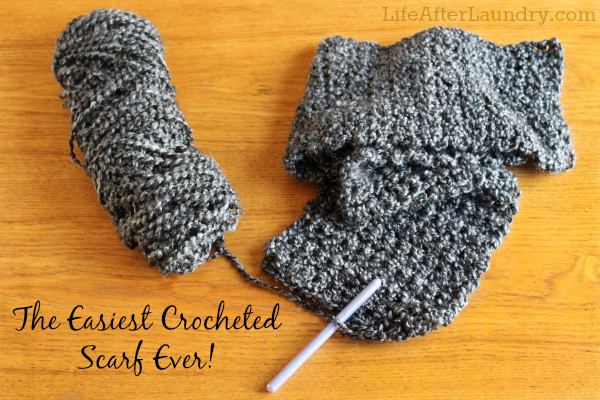
Credit: lifeafterlaundry.com.
The yarn is heavier than the practice yarn (weight 5) and the designer uses a larger crochet hook (9mm), but it’s a single crochet the whole way! The hook size is a personal choice. If it takes you fewer stitches and rows to make your test piece, try using a smaller size hook; if more stitches and rows, try a larger size hook.
Very Basic Beginner Scarf
Size: 6 inches x 71 inches
Yarn: Homespun.
Ch. 13. (Make a slip knot and crochet 13 chain stitches loosely.)
- Row 1: Single crochet in the second chain from hook and in each chain across = 12 single stiches.
- Row 2: Chain one, turn. Single crochet in the single crochet next to hook and in each single crochet across.
- Repeat Row 2 for pattern until skein is used up, ending with a complete row. Fasten off and weave in ends.
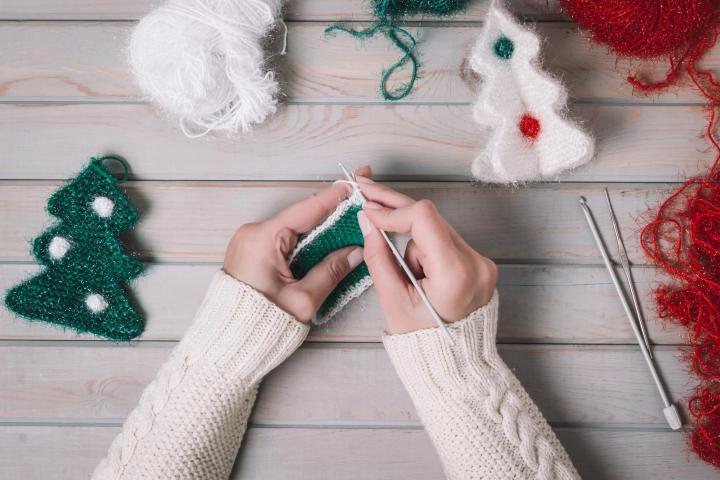
Learning More About Crochet
You can take your crochet skill to the next level by learning more basic stitches. The next one to tackle is the double crochet stitch. Watch more YouTube videos (hey, they’re free) or visit your crochet shop! Often crochet shops offer lessons, in person or virtually. Or, they’ll simply help you get a piece started so that you can practice. Have fun!